How to Wire an Electrical Outlet for Beginners
Learning to wire an electrical outlet might seem intimidating at first, but it's actually one of those home improvement skills that's totally doable once you understand the basics. Whether you're replacing a worn-out outlet or installing a new one, this guide walks you through the entire process from safety prep to final testing. Just like consulting a trusted generator dealer for backup power solutions, getting this right means knowing what you're working with and following the proper steps. We'll cover everything from shutting down power at the breaker to making sure your connections are solid and your outlet works perfectly.
Safety Precautions
Before you touch any wires, you need to make the workspace safe. Head to your breaker panel and flip off the power to the circuit you're working on. Grab a voltage tester and check the outlet to confirm there's zero electricity flowing - this step isn't optional. Safety goggles protect your eyes from any debris or unexpected sparks. Lose the loose clothing and jewelry since they can snag on wires or tools. Your work area should be dry and well-lit because moisture and electricity don't mix, and you need to see exactly what you're doing. Stick to the wiring diagram like it's a recipe you can't mess up. If anything feels sketchy or confusing, call a professional electrician instead of guessing your way through it.
Tools and Materials Needed
Having everything ready before you start saves time and frustration. A voltage tester confirms when power is actually off, which is pretty much the most critical tool here. Wire cutters and strippers prep your wires for connections. You'll need both flathead and Phillips screwdrivers since outlets use different screw types. A utility knife handles cable sheathing when needed. Electrical tape provides extra insulation at connection points. Wire nuts secure any wire-to-wire connections. A cable ripper makes removing outer sheathing way easier than using a knife. You'll also need the electrical box that houses the outlet, NM cables for running the wiring, and obviously the new outlet itself. Get all this together upfront so you're not hunting for tools mid-project with live wires exposed.
Turn Off the Power
Shutting off power isn't complicated, but you've got to do it right. Find your circuit breaker panel, which is usually in a basement, garage, or utility closet. Look at the breaker directory to identify which breaker controls the outlet you're working on. If the directory is blank or wrong (happens more than it should), use a non-contact voltage tester to figure it out by testing outlets while flipping breakers until you find the right one. Once you know which breaker controls your outlet, flip it firmly to the off position. Don't just assume it worked - go back to the outlet and test it with your voltage tester to verify there's no power. This double-check takes ten seconds and could prevent a serious shock.
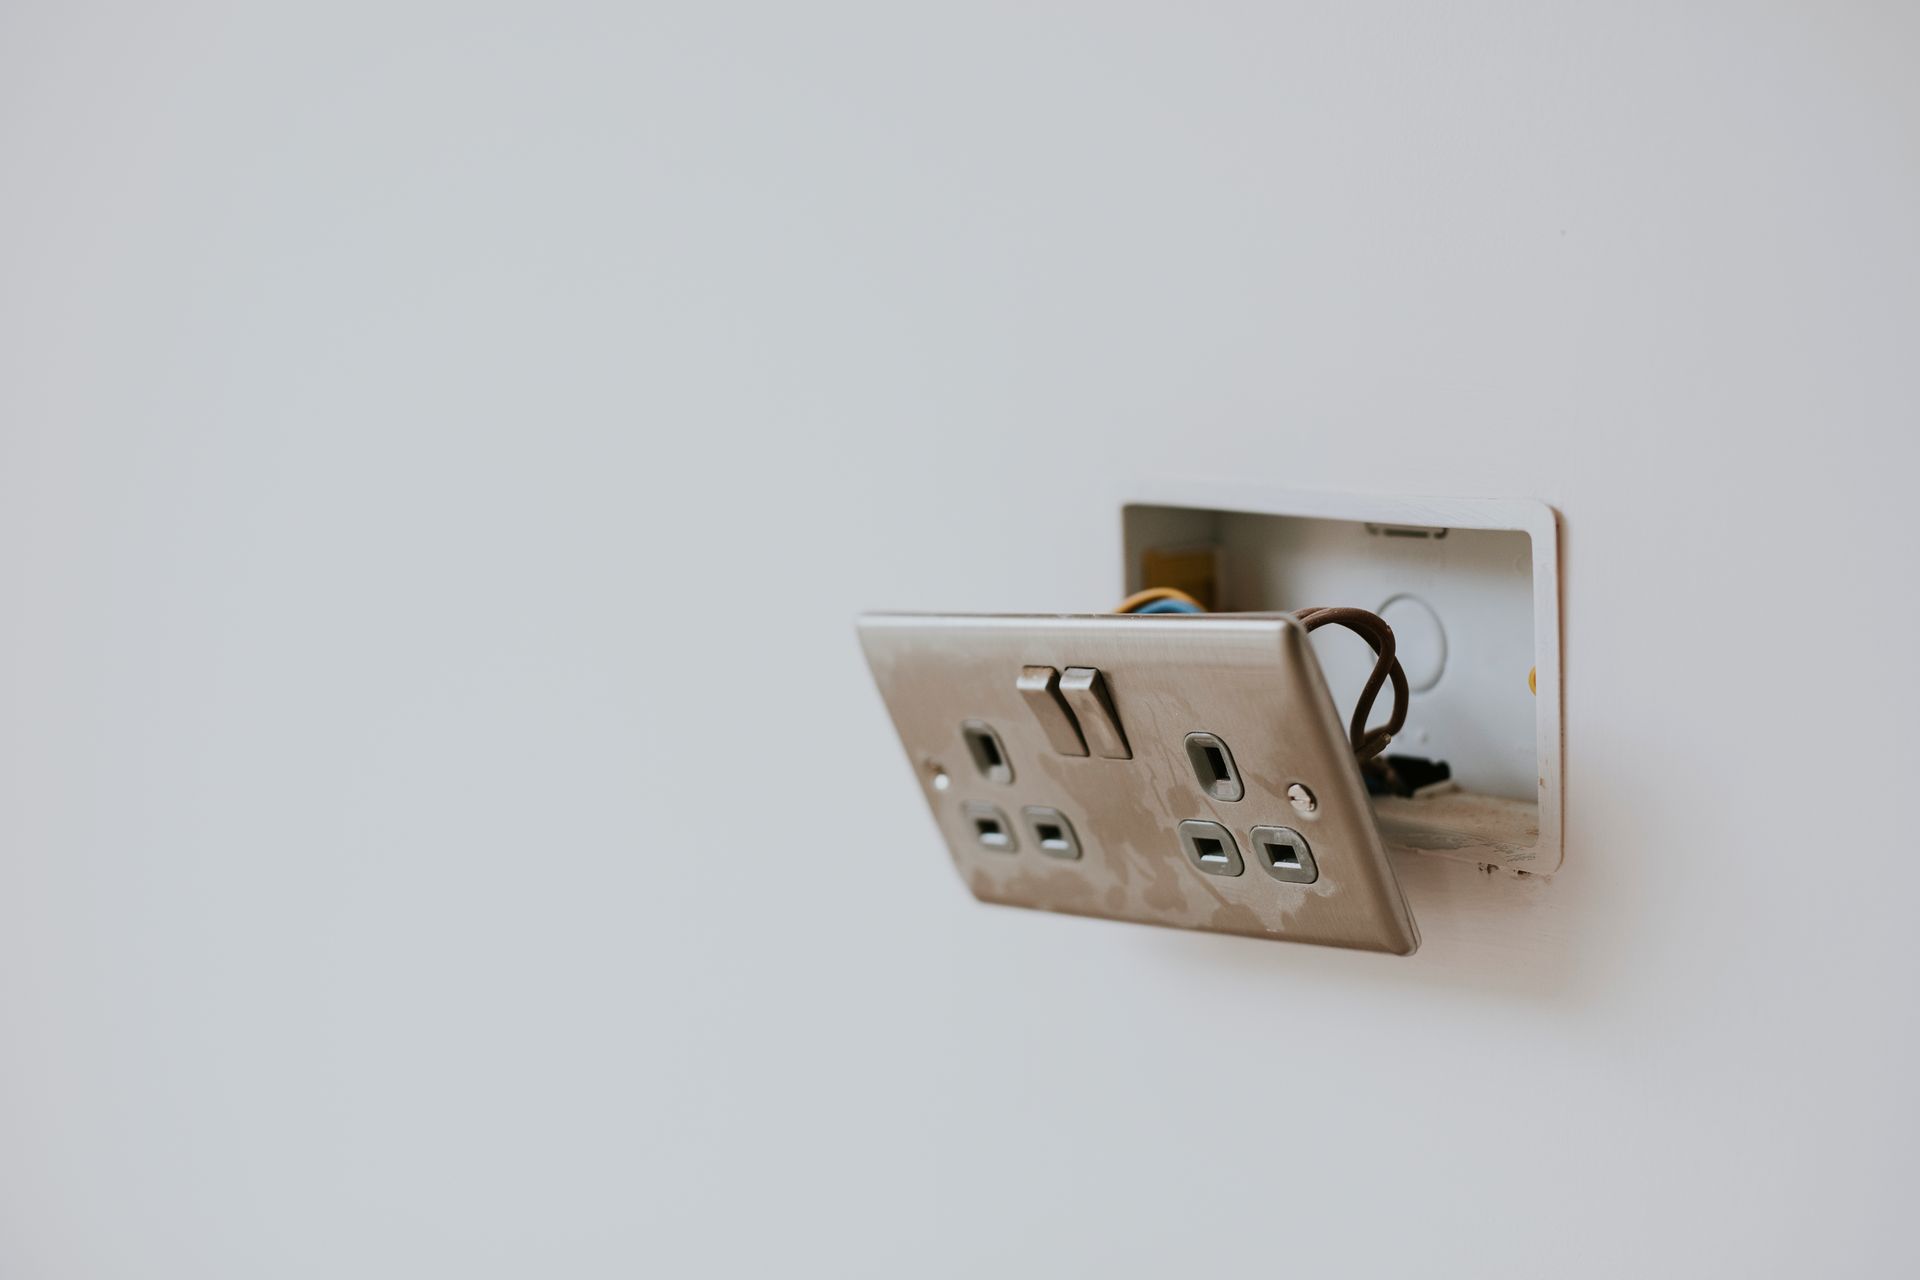
Remove the Old Outlet
With power confirmed off, you can safely remove the old outlet. Unscrew the cover plate and set it somewhere you won't lose it. Next, remove the screws holding the outlet to the electrical box - there's usually one at the top and one at the bottom. Pull the outlet gently out of the box, but don't yank on it since wires are still attached. Take a photo with your phone or make a quick sketch of which wires connect where before disconnecting anything. This reference will save you headaches when wiring the new outlet. Loosen the terminal screws on the old outlet to release the wires. If the wires are pushed into the back of the outlet instead of wrapped around screws, you'll need to press the release slots while pulling the wires out. Once all wires are free, remove the old outlet completely.
Wire the New Outlet
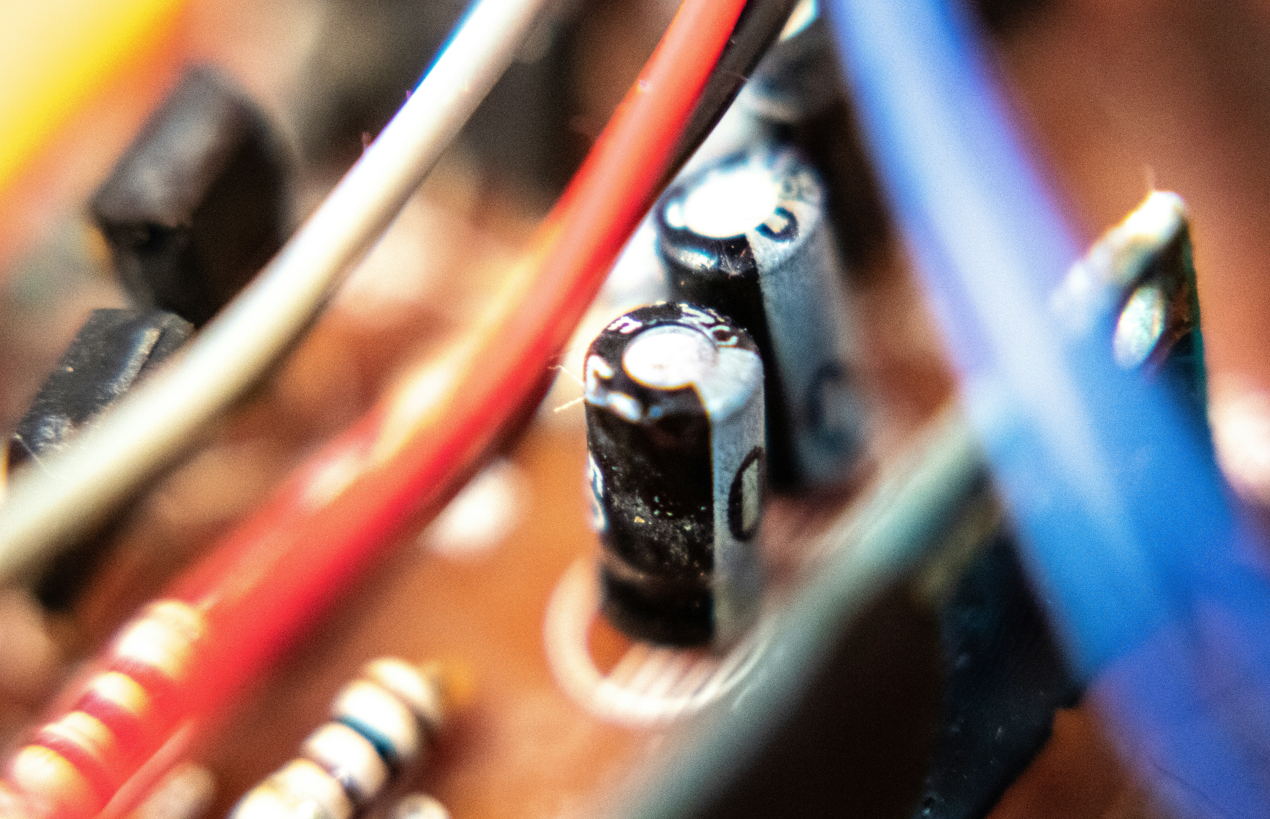
Now comes the actual wiring part. You should see three types of wires in your electrical box: hot (black), neutral (white), and ground (green or bare copper). Use wire strippers to remove about three-quarters of an inch of insulation from each wire end if they're not already stripped. The new outlet has three different colored screws - brass, silver, and green. Connect the hot black wire to the brass screw on the side of the outlet. The neutral white wire goes to the silver screw. The ground wire connects to the green screw, which is usually at the bottom. Wrap each wire clockwise around its screw so it tightens down when you turn the screw clockwise. Make sure you've got solid connections by giving each wire a gentle tug after tightening. Push the outlet carefully back into the box and secure it with the mounting screws.
Test the Outlet
Testing confirms everything is wired correctly and safe to use. Start by going back to your breaker panel and flipping the circuit breaker back on. Return to the outlet with your voltage tester and check that power is now present by inserting the tester into the slots. The tester should light up or beep, depending on the model. Screw the cover plate back on, then plug in a lamp or phone charger to verify the outlet actually supplies power to devices. If you have a receptacle tester (those little plug-in gadgets with three lights), use it to check for any wiring mistakes. The lights will show you if hot and neutral are reversed or if the ground connection is missing. If everything checks out, you're done. If not, turn the power back off and recheck your wire connections.
Related Topics:
- What Is an Electrical Circuit in Simple Terms
- How to Safely Replace an Electrical Outlet at Home