How to Safely Replace an Electrical Outlet at Home
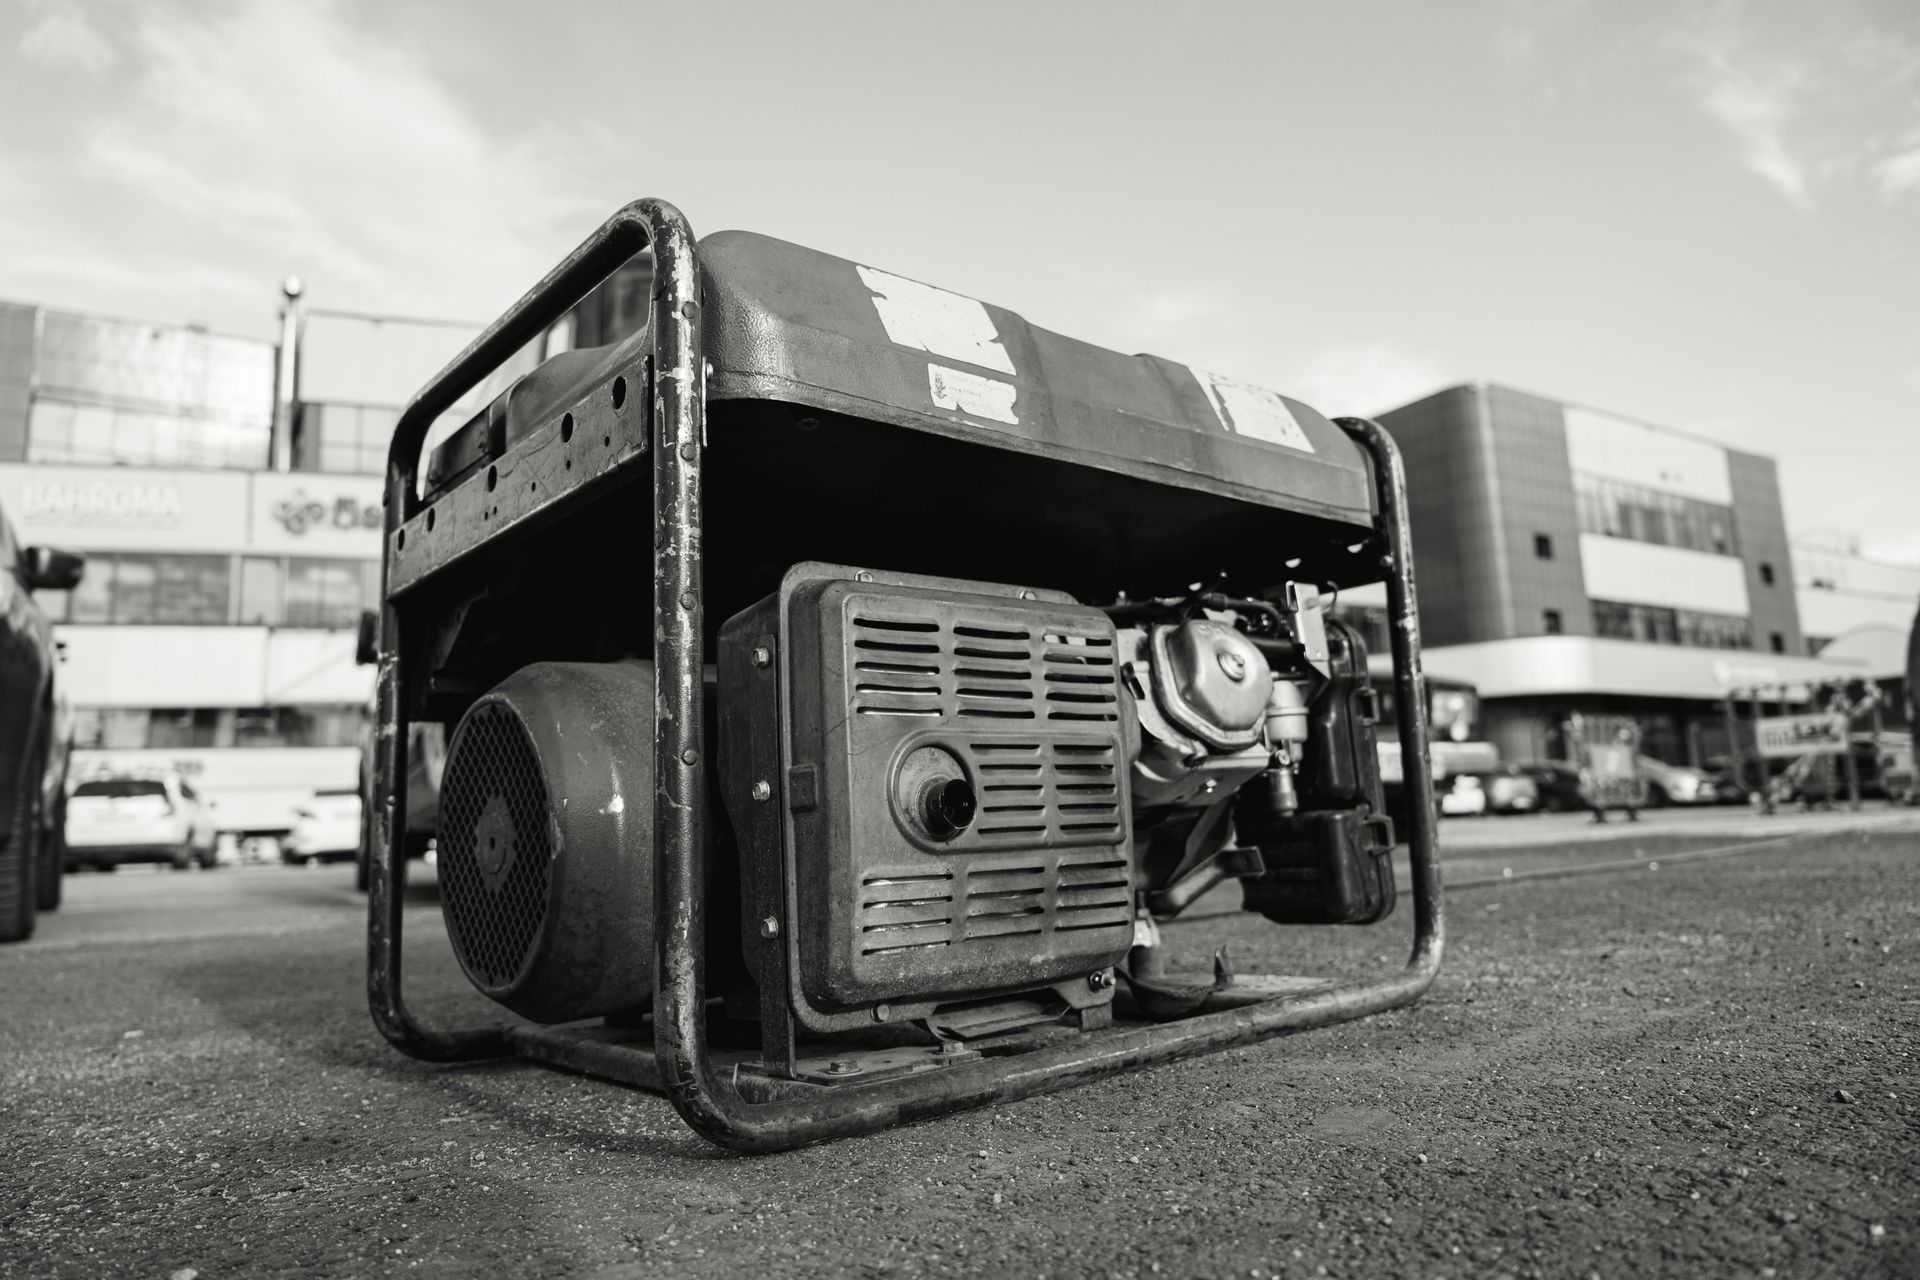
Replacing an outlet is something many homeowners eventually face, often after noticing loose plugs or worn covers. It is also a topic that comes up when people look into larger electrical upgrades or speak with Oklahoma's certified Generac dealer about power reliability. This guide walks through what the process involves, what to watch for, and how to approach the task with care rather than rushing through it.
Safety Precautions
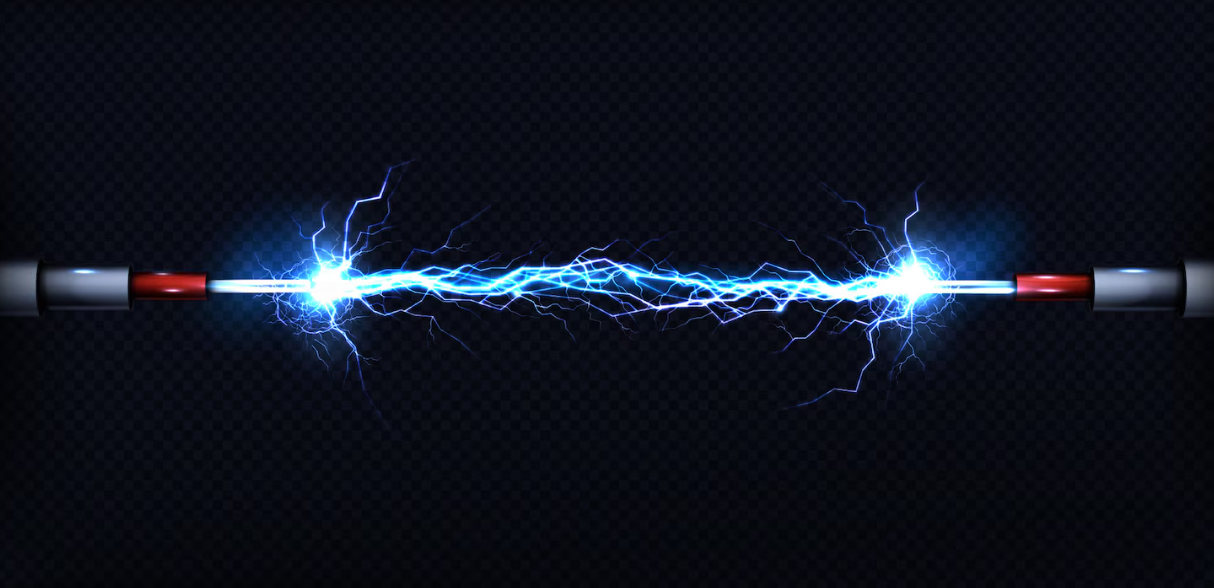
Working with electricity calls for patience more than confidence. Power must be shut off at the breaker before anything else happens, even if the outlet looks inactive. A voltage tester should be used to confirm there is no current present. Gloves and eye protection help reduce risk, especially in older homes where wiring conditions vary. The area should stay clear and dry to avoid unnecessary hazards. Touching live wiring can cause serious injury, so checking twice is always worth the time.
Tools and Materials Needed
Having everything nearby makes the job smoother. A screwdriver, pliers, wire cutters, and a voltage tester are standard for this type of work. The replacement outlet should match the existing electrical rating to avoid future problems. Electrical tape can help secure connections, and a flashlight may be useful if the wall box sits deep or lacks lighting. Using worn or damaged tools can complicate a simple task, so checking them beforehand helps.
Shutting Off the Power
The breaker panel is the first stop before touching the outlet. Once the correct breaker is switched off, the outlet should be tested directly to confirm that the power is gone. Some homes have shared circuits, so testing at the outlet itself matters. Even after confirmation, wires should be handled carefully and never assumed to be inactive without checking.
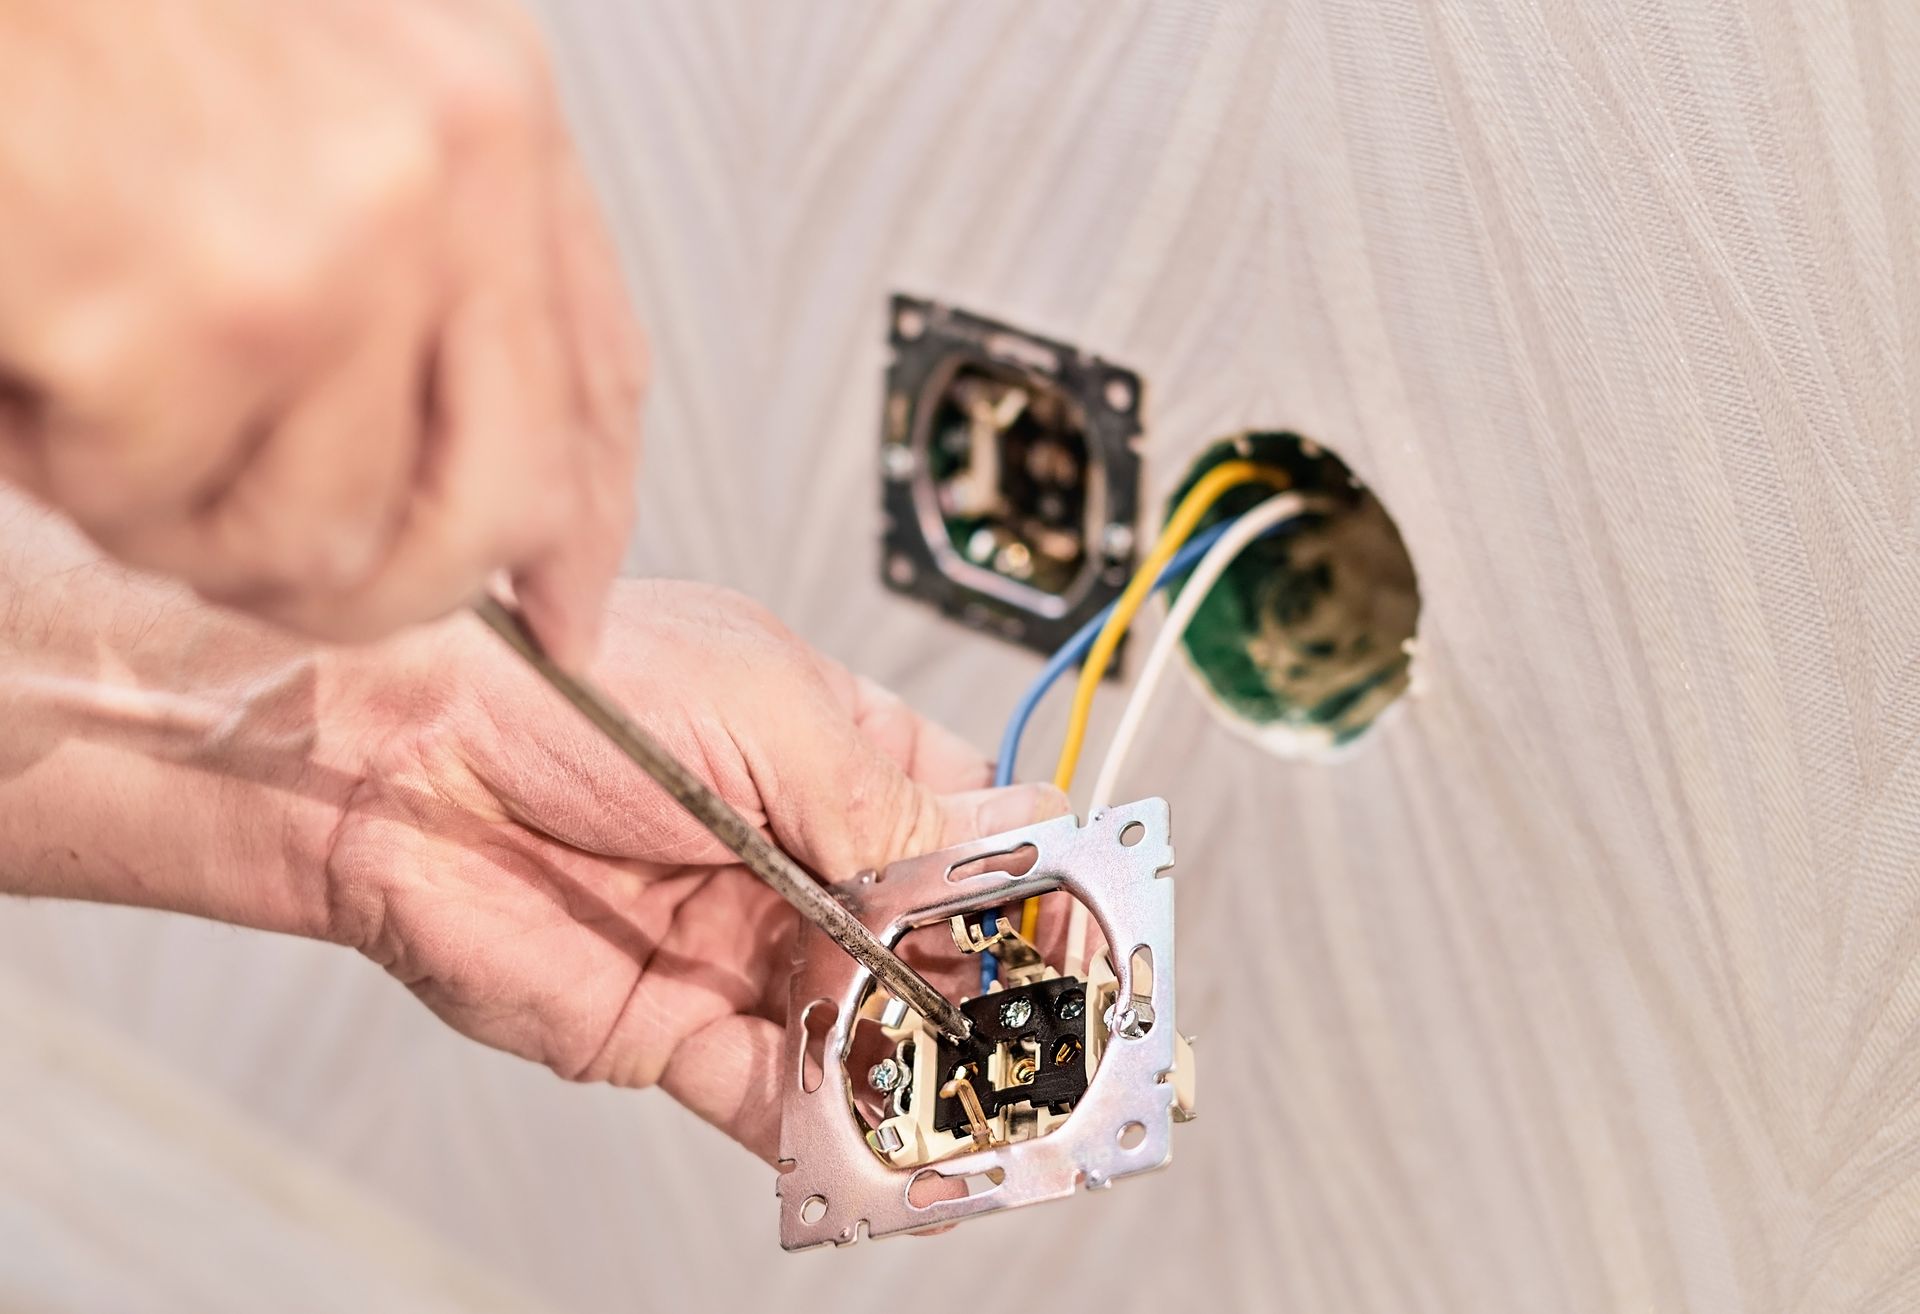
Removing the Old Outlet
The cover plate can be removed with a screwdriver, followed by loosening the outlet from the wall box. Wires should be disconnected slowly, keeping track of where each one was attached. Pulling too hard can damage the wiring or loosen connections deeper in the wall. Once free, the old outlet can be removed while leaving the wires exposed for the next step.
Installing the New Outlet
The replacement outlet should be wired the same way as the old one. Each wire needs to sit firmly under its terminal screw to prevent looseness later. After wiring, the outlet can be placed back into the wall box without forcing it. Screws should be tightened enough to hold it steady while keeping the outlet level against the wall.
Testing the New Outlet
Once everything is secured, the breaker can be turned back on. The outlet should be checked using a tester or a small device to confirm power is flowing correctly. The cover plate should sit flat, and the outlet should feel solid when plugging something in. If anything feels loose or warm, power should be shut off again, and connections checked.
Related Topics: